


Polish Up Hand-Me-Down Shoes: Clean, Nourish, Shine. Return.

This is a blog post about restoring a pair of second-hand school shoes for a kid in need. The methods used here would be useful to anyone who's thought about buying second hand shoes from thrift shops or online platforms like eBay and StyleForum.
In Australia and throughout our public school system, 1 in 7 children live in poverty and struggle with the humbling consequences of not having adequate clothing or footwear. Thankfully, community-based clothing stores such as the Good Samaritans and the Salvation Army, work tirelessly to prevent scenarios where children must go to school in their pyjamas, alternate attending school because there is only one set of pants between siblings, or show dirty toes beneath tattered shoes.
But as a kid, one doesn't feel so lucky to be wearing hand-me-down clothing. In a millennial-age where what you wear tells a story as to who you are, attending school dressed in hand-me-down clothing can be an embarrassing experience for children; a bitter pill with a lingering aftertaste, so to speak. So when, a couple of weeks ago, I glanced upon an old pair of scuffed-up school shoes through an Op Shop window... I had a moment... and promptly bought, polished and returned them. Selfishly, I am a bit of a shoe shine nerd, so it wasn't pure altruism, but I do hope the polished product gives some pride to their new owner.

The sad looking Derby's I decided to polish up for its next owner.
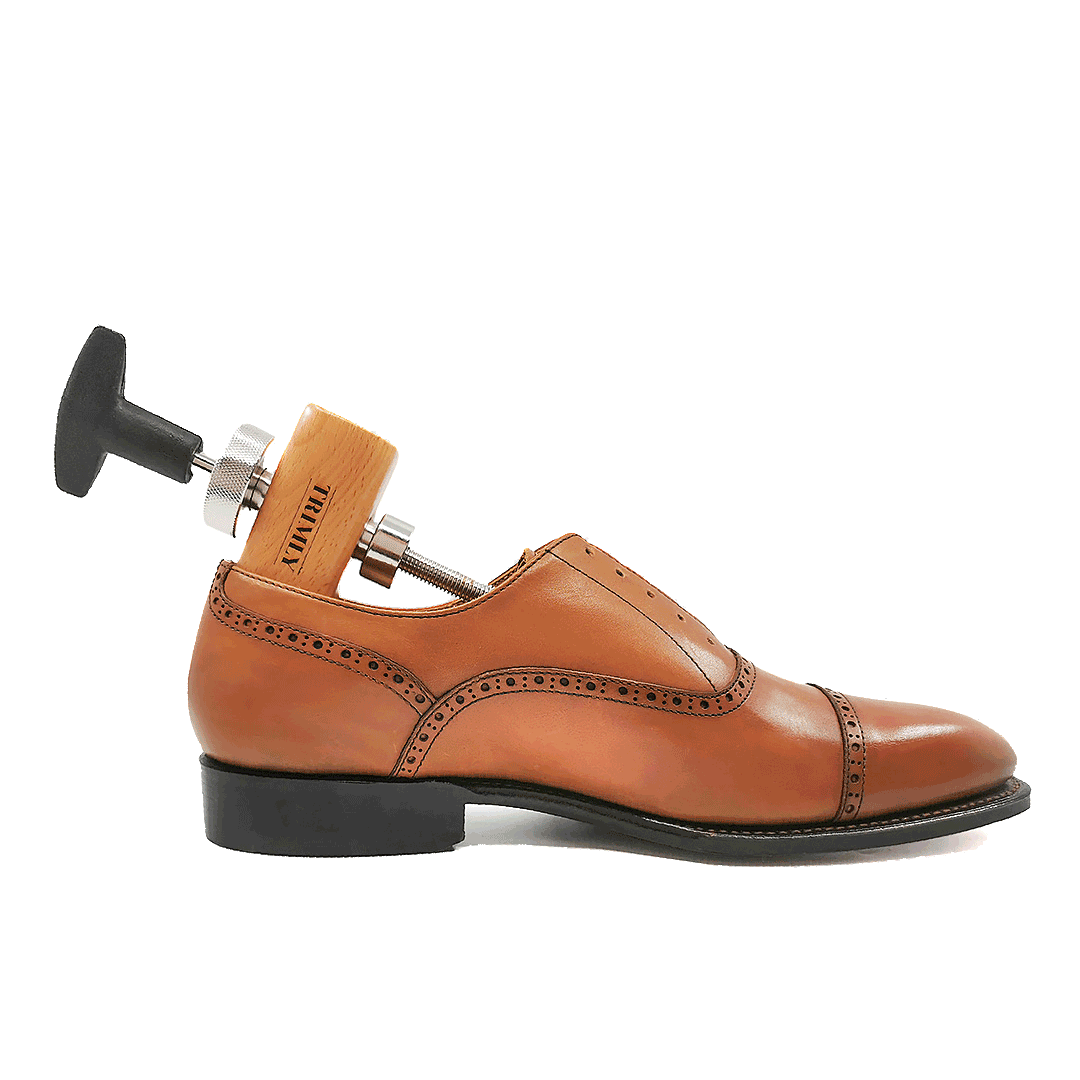
Sizing them up
The method I used below to appraise the Derby's above is the same approach I use whenever I purchase used shoes or receive shoes to work on.
Leather Upper: I am looking for any damage to the leather, changes to the natural shape of the shoes and the severity of creasing.
Leather Heel cap or Strip: Most people don't use shoe horns, which can damage the rigid area at the back of the shoe. Once the integrity of the heel cap is damaged, shoes of this quality are seldom worth repairing.
Sole and Heel: I am looking at the condition of the sole and heel, including the outsole. Most wear will occur at the sole and heel area. If it's a leather sole, I am looking out for cracks around the outsole. Replacing the sole would not be worth the lifespan of this shoe.
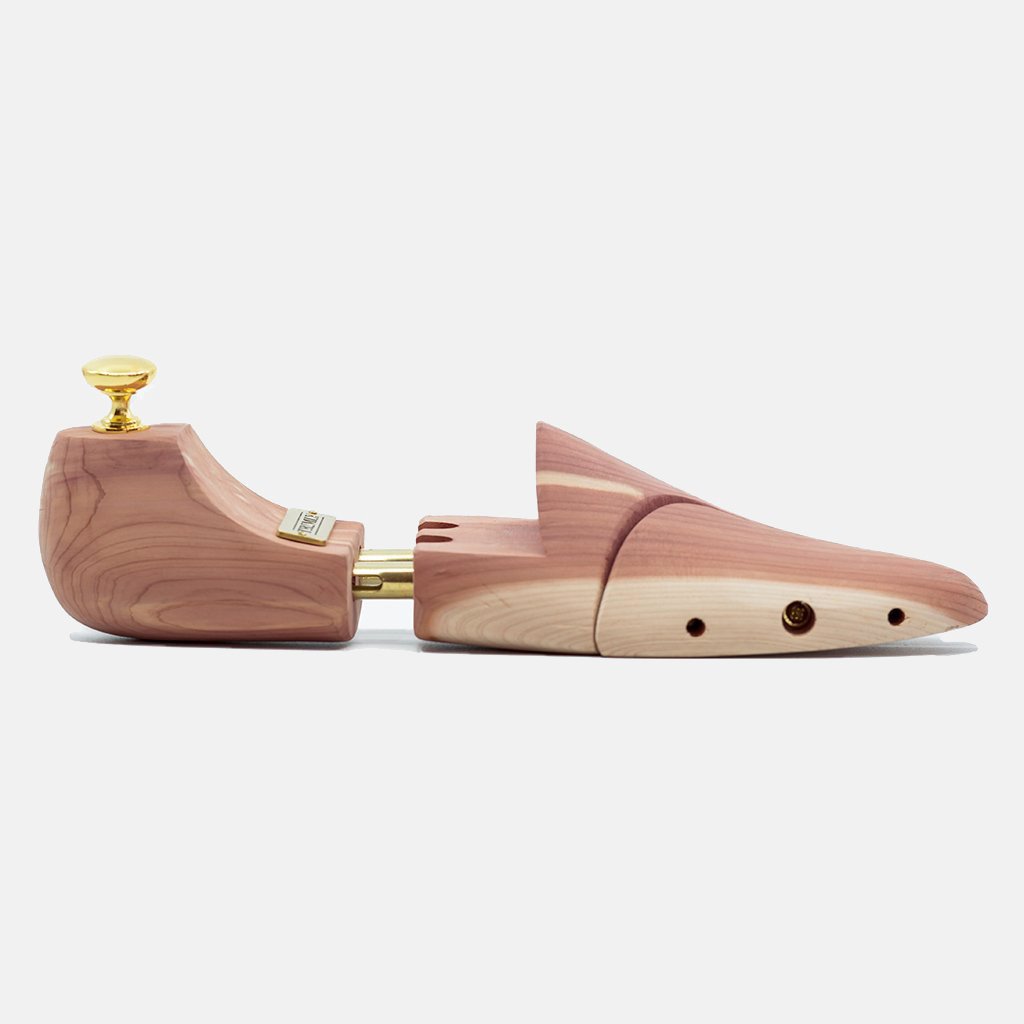
Insole and Lining: The two main things I am looking for is lining that has rotted away and a footbed that is too much compressed to the previous owners feet. Rotted lining is caused by sweaty feet and there is not much to be done for the shoes (although using cedar shoe trees will wick away moisture). A footbed compressed to the previous owner's feet will never be comfortable for the new owner. Insoles are relatively cheap, but for welted shoes, replacing the cork footbed will mean replacing the entire sole.

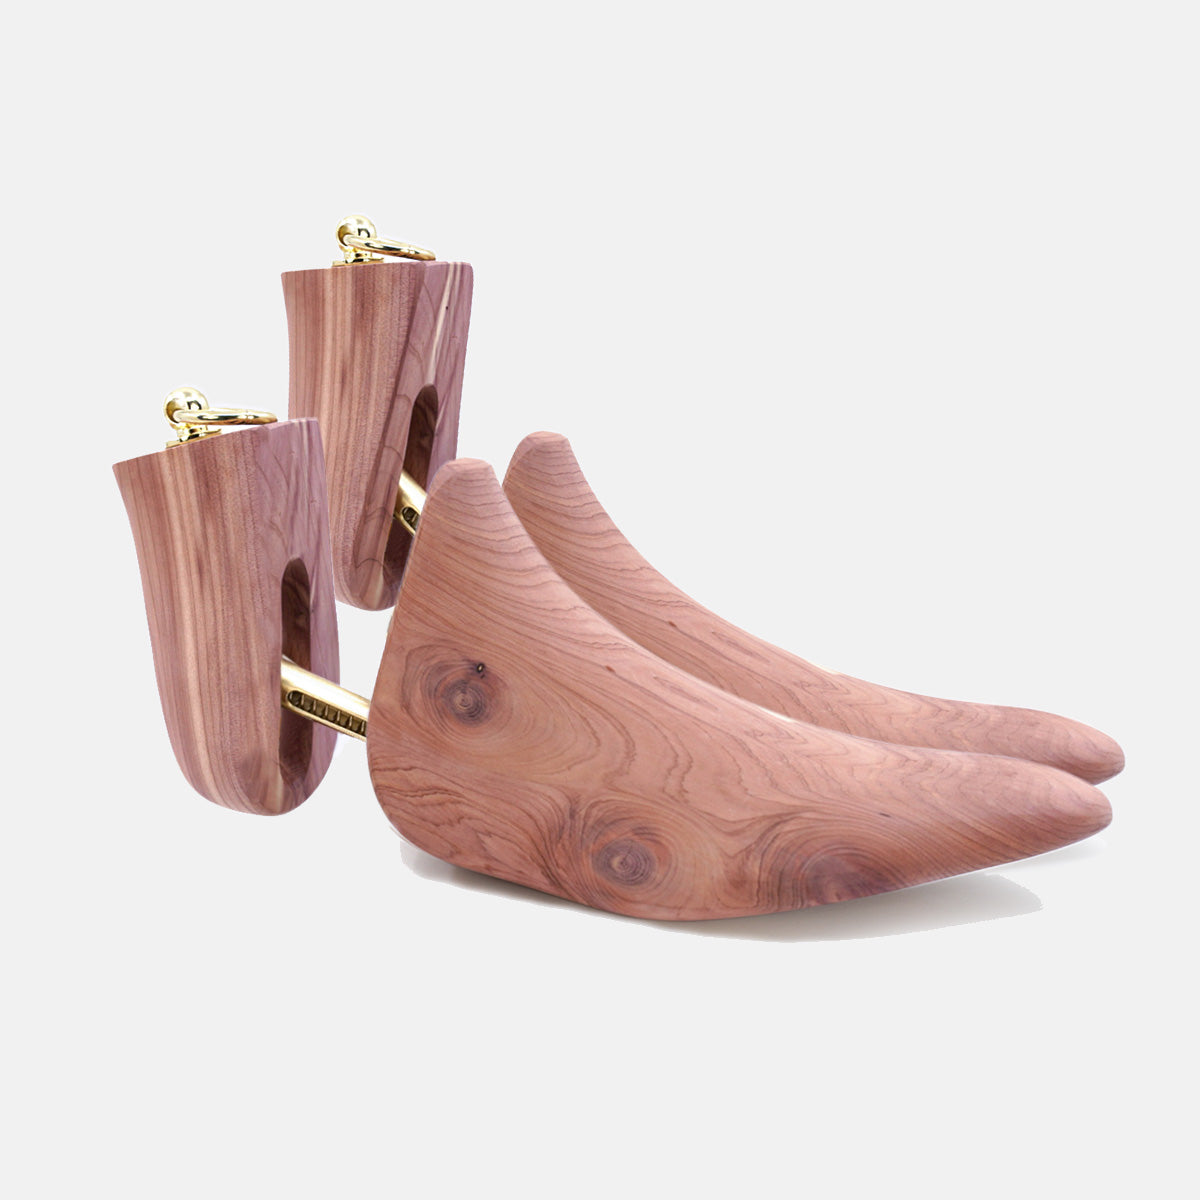
Condition of shoes: The leather upper was in some serious need of nourishment and there were some deep scuffs to the front toe area. A few licks of shoe cream will rejuvenate the colour, cover those scuffs and give the leather the nourishment it needs (had I the product, I would have used a resin-based cream for the deeper scuffs) The heel strip area was beginning to weaken and there is not much I can do about that, other than to ensure the shoes are returned with a shoe horn. The shoes had never seen shoe trees and so there were deep creases to the vamp and bowing at the front of the toe/sole area. After disinfecting the insole, I placed a pair of our Split Toe Shoe Trees into them and they began to look like the attractive Derby they once were.
My appraisal was that the shoes could be salvaged and last the child for another 3-9 months.
The Cleaning
The first thing I did was clean and disinfect the shoes. The aim was to remove dirty, dust and kill any bacteria and other unwanted microorganisms. To do this I added a couple of drops of alcohol (always use ethyl over acetone [nail polish remover]. Ethyl is a solvent and a disinfectant, whereas acetone is a very strong solvent and dehydration agent). The few drops dissolved in a cup of water meant there was less solvent being applied to the leather than what is generally used in shoe polish, so the leather was safe [although I would not do this on delicate leathers and always test the solution on a discrete spot].
The insoles were also disinfected by adding a couple more drops of alcohol to the cup and dabbing away with a cotton wool. I then let the shoes dry for several minutes.
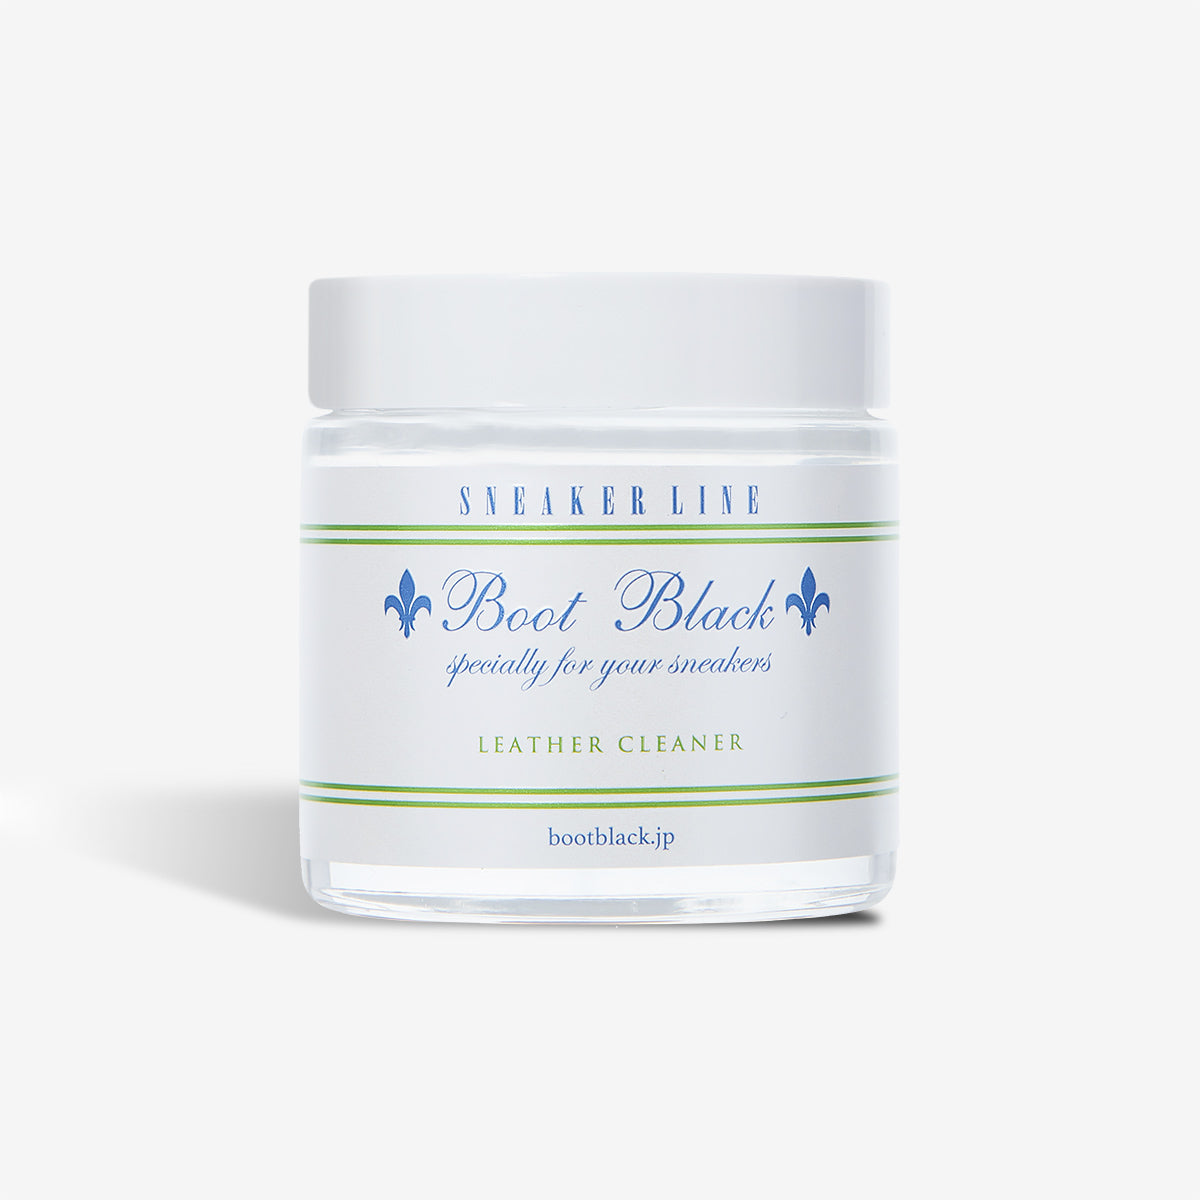
The final but no less important step was to apply some Boot Black Two Faces lotion.This is a great cleaner/conditioner that contains a light organic solvent and argan oil (used in beauty products). After a quick brush the shoes began to look a lot better.

The shoes responded well to a good clean and light conditioning.
Nourishment, Rejuvenation, Protection
The aim here was to nourish the leather, restore its colour and give the shoes a layer of protection.
To nourish the leather and rejuvenate the colour I applied several layers of the Boot Black Silver Line Shoe Cream, known for its thin spreadability, tightly compacted pigments and deep nourishment. I applied the shoe cream with a polishing cloth lightly and evenly throughout the shoe. I waited approximately 10 minutes to allow the shoe cream to absorb before I gave the shoes a brush to disperse the cream and to buff out the light to medium scuffing. If I had more time I probably would have left the cream on overnight. But it worked a treat with the marks and scuffs to the side of the shoes all but disappearing. To be sure, the deep scuffs on the toe remained, but the pigment did a great job blending them in, so unless you were on a parade ground inspection, no one would notice them.
The final step was to apply a couple layers of Boot Black's Silver Line (Wax) Shoe Polish. This is a quality shoe polish that contains several waxes but less pigment than the shoe cream. The purpose here was to quickly give the shoes a protective layer and buff out a nice shine. By buffing with a polishing mitt (or your wife, girlfriend, mistress' pantyhose) the toe and heel areas took on a lovely shine. With a few more layers, and a bit moretime, they would have really glowed. The shoes were now ready to be returned and the whole process took me less than half an hour.

The shoes looked 110% better than how I found them. All up, it took me less than 30 minutes.
Before I returned them whence they came I replaced the laces with a new set, which immediately lifts the look of any shoes. I also used a polishing mitt to bring out the shine on the toe and heel areas. I moulded paper so that they filled out the front of the shoes and I inserted a Trimly Cedar Shoe Horn and a rolled up Trimly Cotton Shoe Bag.
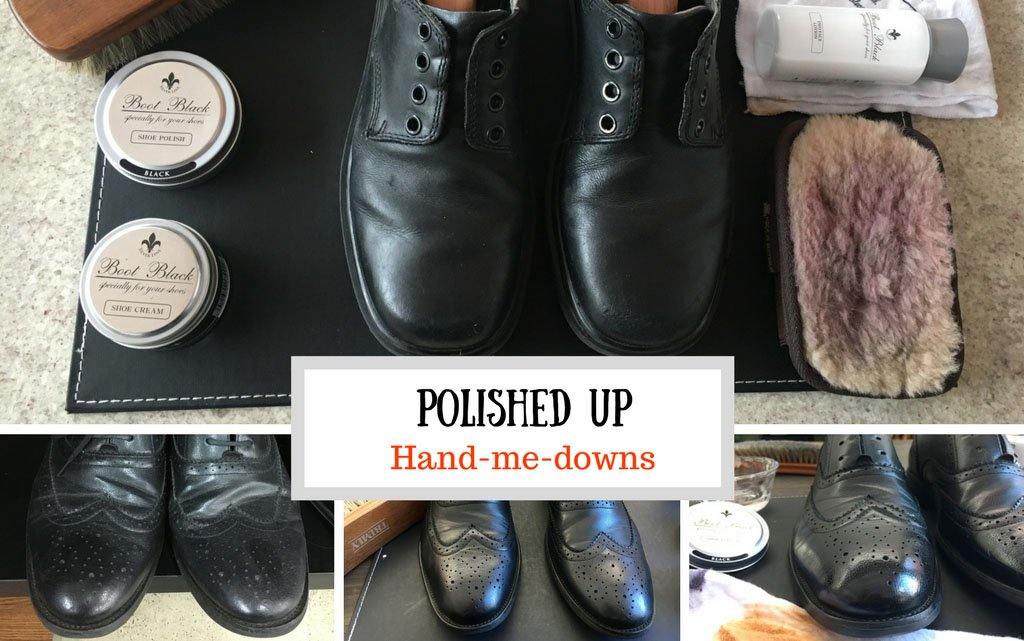
I found out a couple of days later that the shoes went quickly, which made my day. So I went back the next week and did the same with an old pair of brogues (there were no kid's shoes, so I chose the smallest men's size I could find) - pic collage below.
I'd like to do more of this, time permitting. The only thing I will do differently is to give the shoe cream more time to properly absorb into the leather, most likely leaving it overnight. It was a fun exercise and if a kid feels even a little bit of pride about his new shoes, it would have been worth it. 