


Sticky Boot Trees: Cause And Remedy


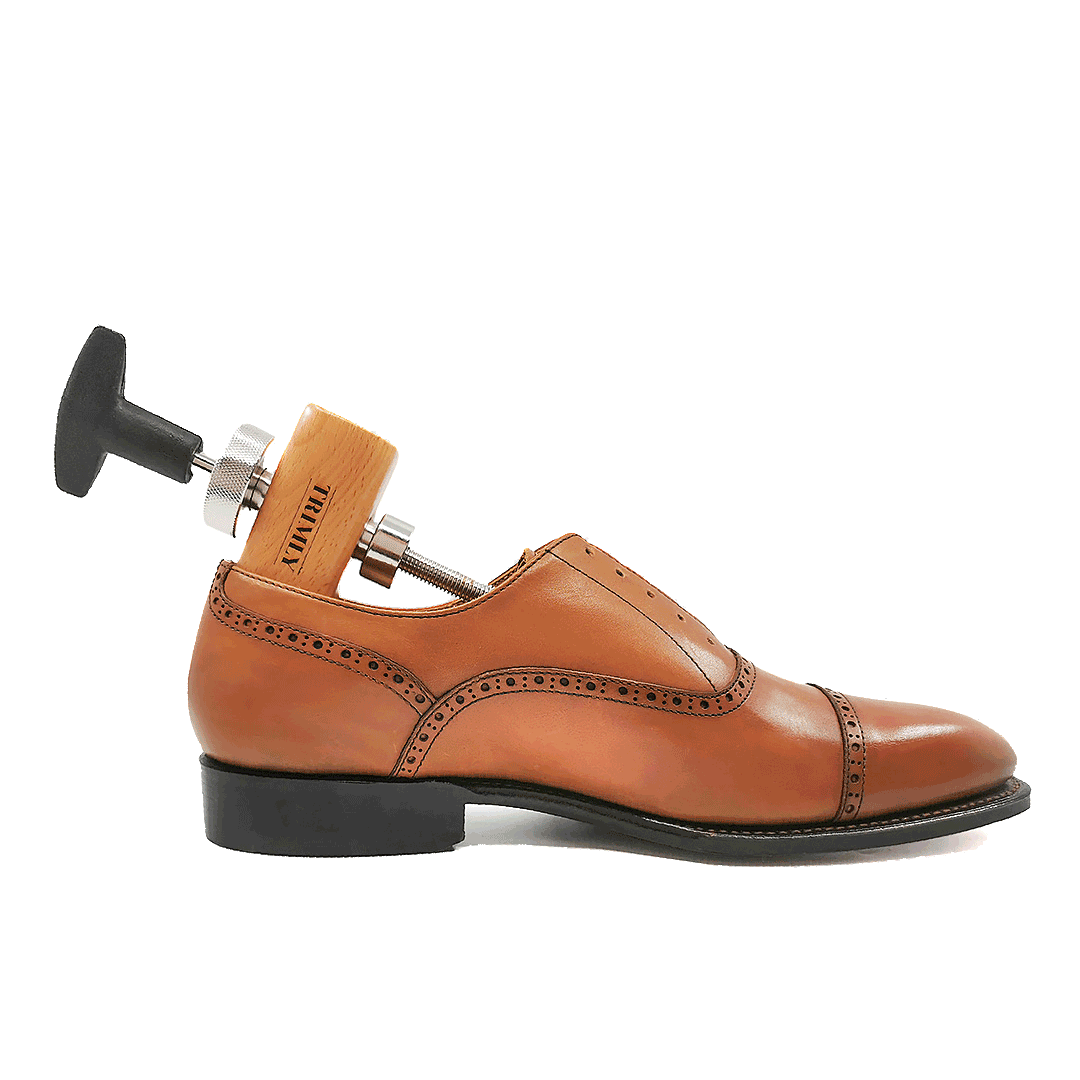
Trimly has updated its boot trees to a new model that has fixed many of the issues associated with using them on Chelsea Boots. You can view the new boot trees model here.
Why Boot Trees Can Get Stuck?
While I've only received positive feedback about our old boot trees, boot trees in general are a little more complex to remove than regular shoe trees. Size, shape and fit of the boot notwithstanding, a more common cause is related to the materials within the boot. The problem, however, is easily fixed and equally easy to avoid.
If you're thinking about purchasing a boot tree, here are five reasons why you should.
The Pesky Inner Heel Counter
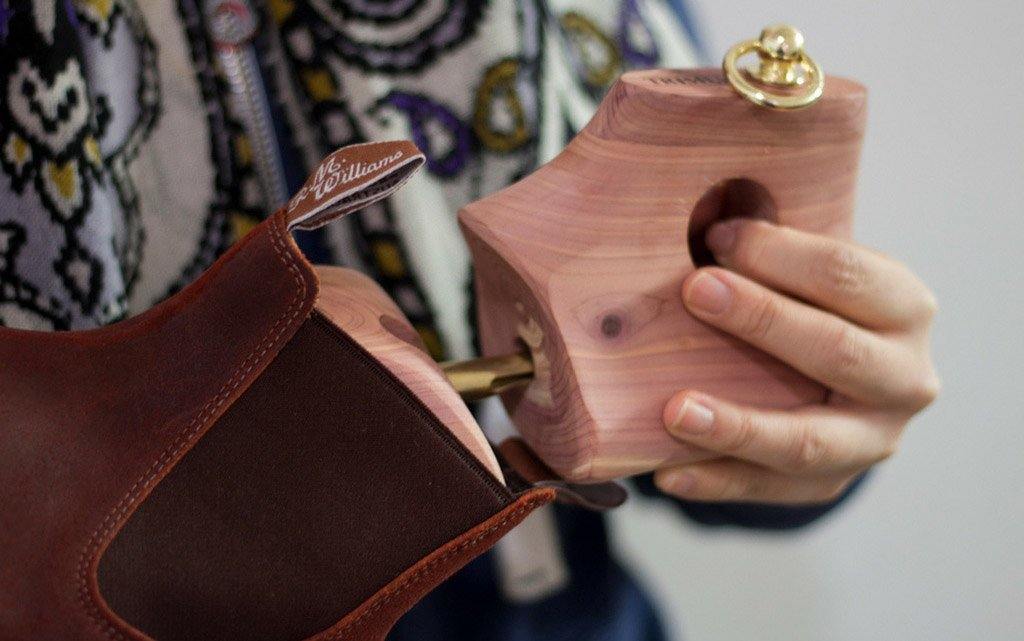
The most likely suspect is the inner heel counter of the boot, highlighted in yellow below. Different boots have different heel counter shapes, but this is quite standard for Chelsea boots and in particular RM Williams boots. The inner heel counter is often made of leather and is fastened to the elastic lining, the heel strip and the sole. The front of the heel counter, circled below, may not be fastened and this can cause problems when removing the boot tree.
 The Snag
 The Snag
Due to the design of the old Boot Trees, the toe spring creates a gap between the toe and forefoot of the boot tree. Consequently, the toe may be a little wider than the midsection of the boot tree.
When removing the boot tree from the boot, the back-end of the toe can get snagged on the boot's heel counter (the part you can insert your finger between). This is when people run into problems. 
How To Fix (And Avoid)
If stuck, never apply force. By pulling you risk damaging the heel counter and stretching it. The last thing you want is a stretched heel counter: it's not good for your boot and will only exacerbate the issue.
1. Remove Boot Tree On Slight Angle (easy fix and best practice)
Reinsert the boot tree completely into the boot. We want to remove the boot tree gently on a slight angle so that the toe slides across the edge of the sole and avoids contact with the heel counter.
2. Decrease Boot Tree Width
If you're still having intermittent problems you may want to decrease the width of the boot tree. The gap between the toe and forefoot of the tree can be increased or decreased via the larger middle hole across the toe. Simply insert a Phillip's Head screwdriver and turn clockwise to decrease or anti-clockwise to increase the gap. The aim is to make the toe as streamlined to the forefoot as much as possible. Always test the new width and fit. This may not be practical for those with wider-fitting boots.
3. Flatten The Heel Counter
This is only suggested on those rare occasion where the boot tree has become like the Excalibur in your boot. Find a long, smooth object like a pencil reversed or chop stick and guide it to approximately where the top of the toe is. Reinsert the boot tree. Press the smooth object gently against the heel counter, and carefully remove the boot tree, which should now not get caught on the pressed heel counter. Try to avoid using your hands and fingers, as this might crush or crease the leather around the ankle area of the boot.
-------
We are currently making a short video that will show how to avoid or remove sticky boot trees. We do not condone customising the heel counter of the boot without first consulting with the boot manufacturer.