


How To Prepare New Shoes For Wear
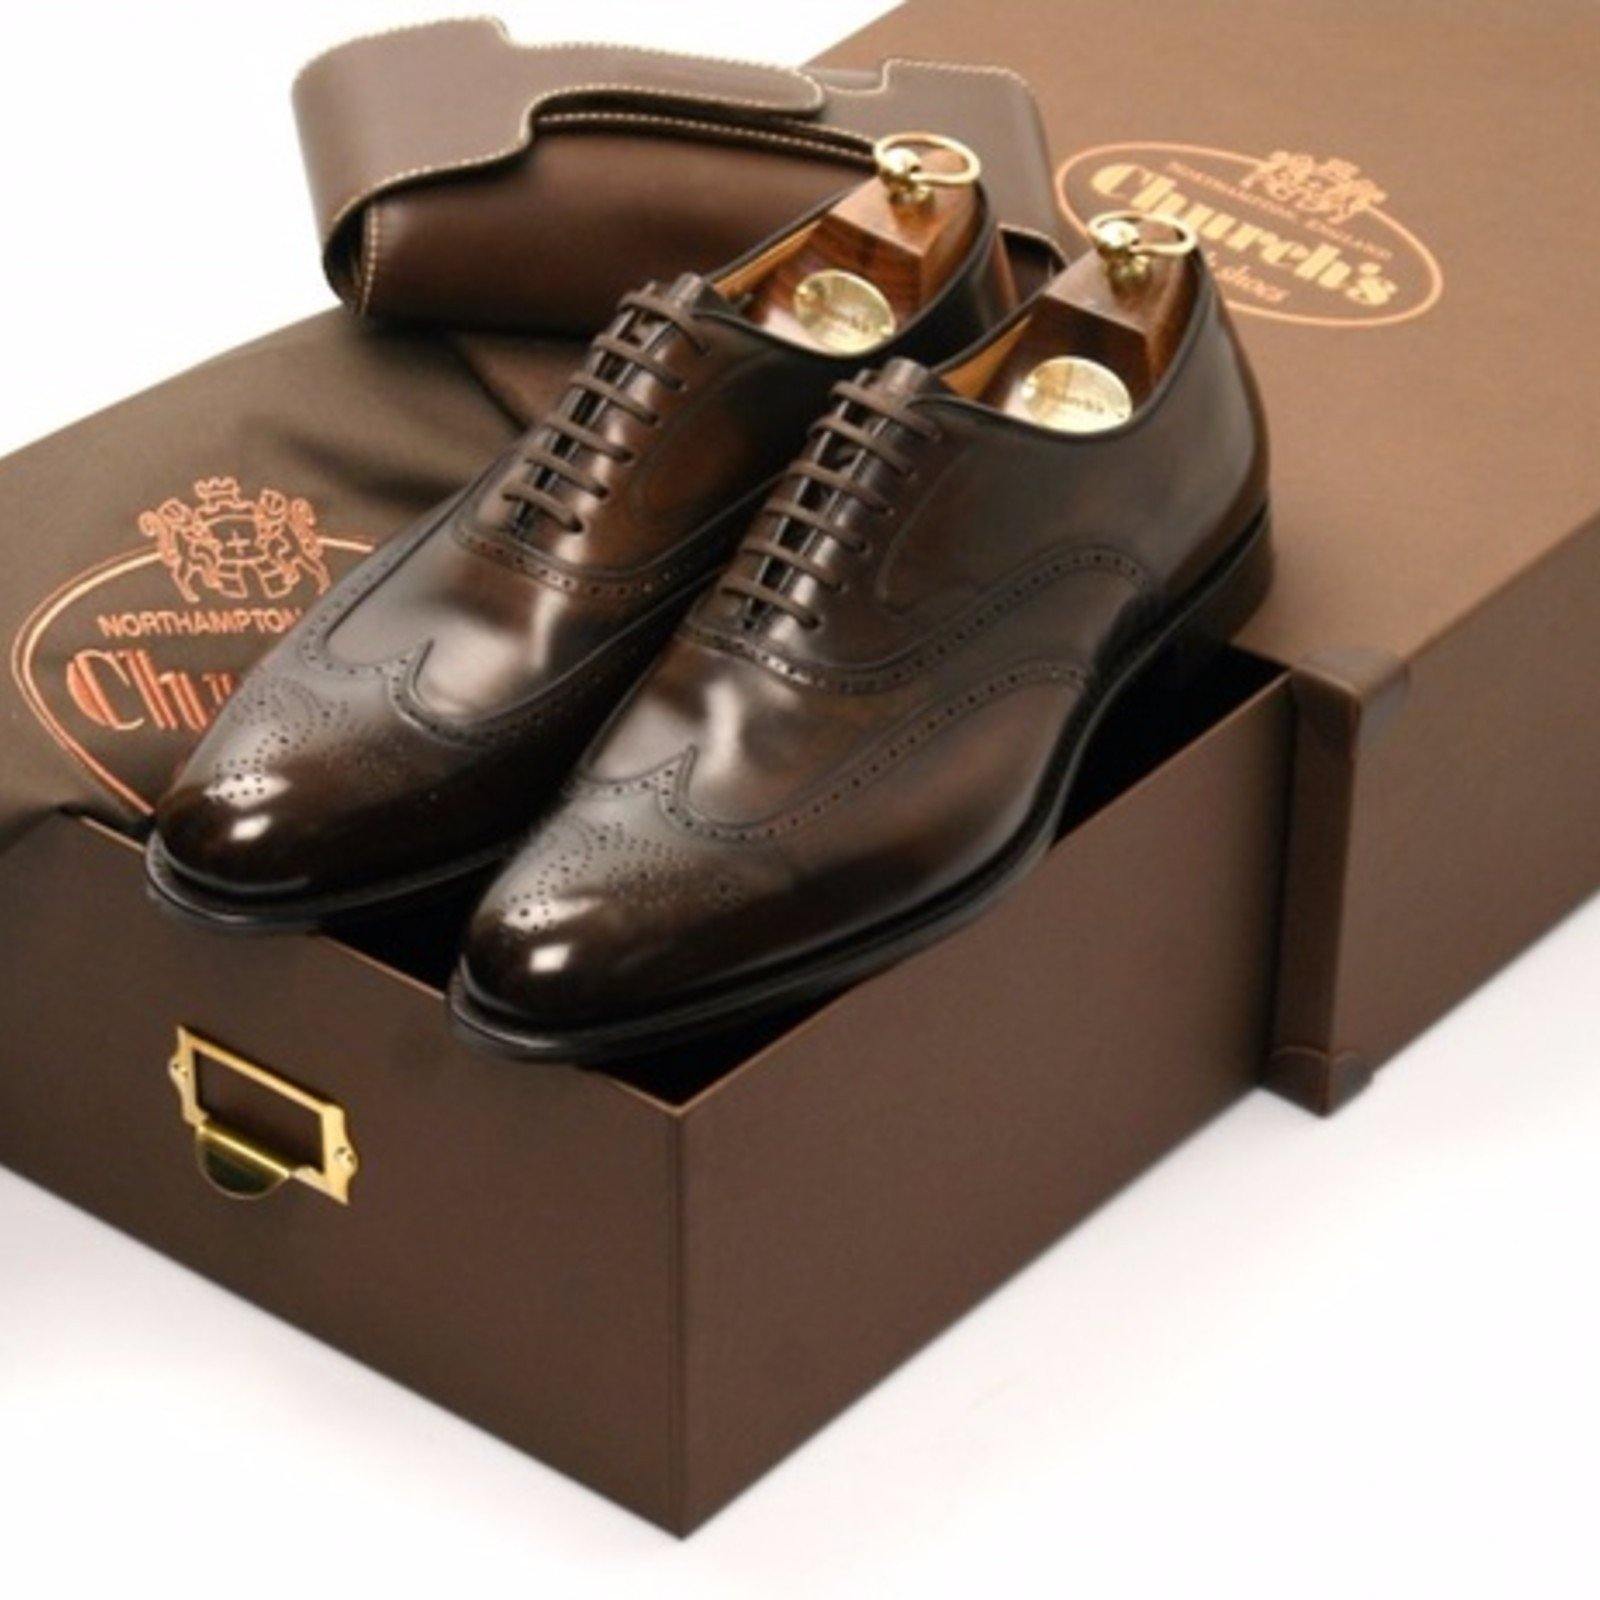

Few shoes are ready to be worn straight out of the box. For the most part, new shoes have little if any shoe polish. Because applying shoe care product remains a fairly manual process, at best they receive a brush of varnish.
In Australia's dry climate you will find that leather needs plenty of nourishment. We're also prone to some seasonal conditions that can batter our shoes around. So we need to prepare our shoes before they're ready to be worn out.
Step 1: Clean and condition the leather
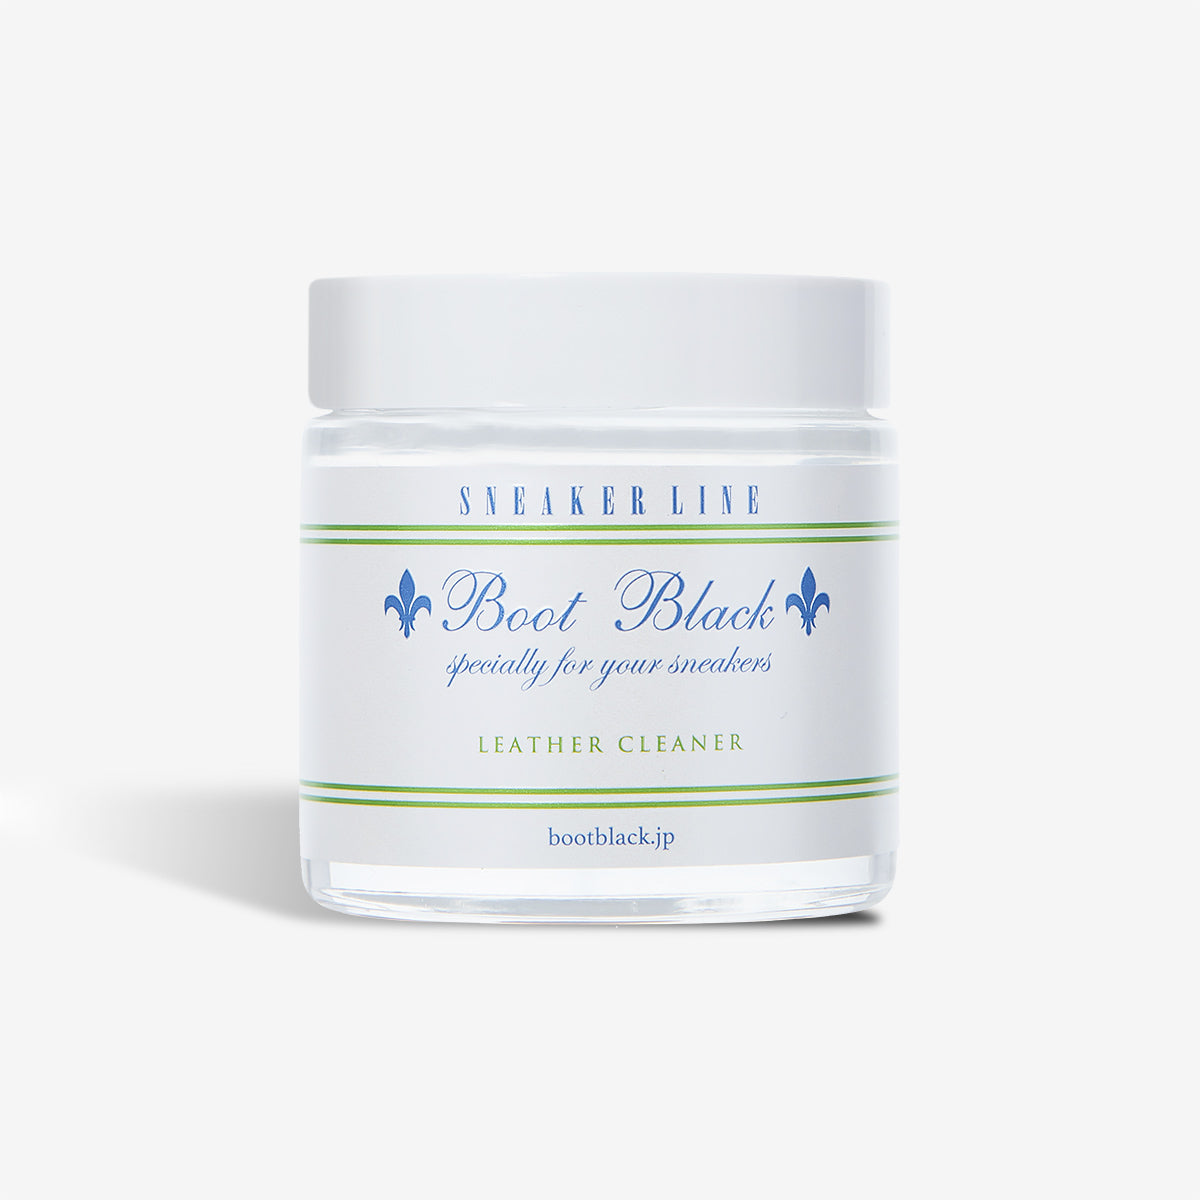
We want to ensure the leather is properly hydrated and will remain supple before building up the wax layers. Applying the Bootblack Two Face Lotion is a great primer for the shoe polish, which you will apply next.
- Before you apply the lotion, use a lightly damp cloth to wipe off any dirt or manufacturing residue.
- Use a soft cloth and apply the lotion. It contains a non-toxic solvent and moisturiser. So it's perfect for removing dirty, nourishing the leather and preparing it for the shoe cream.
- Allow to dry for at least 5 minutes. The longer the better.
- Once dry use a horsehair brush to buff the leather and remove any excess lotion. Your shoes should take on a light shine.
Step 2: Apply Shoe Cream
A shoe cream typically has less wax than a shoe polish but contains more pigment and emollient. You will find that the Boot Black Silver Shoe Cream to be an exceptional product to use. Your new shoes are probably in need of some nourishment. The odorless mineral oil will penetrate deep into the leather, giving it the nourishment it needs, while the high gloss mineral wax and micro crystal beeswax will build the all-important wax layers.
- Use a soft cloth or application brush to apply the shoe cream thinly and evenly over the shoe. A small dollop on the end of the finger is enough to cover between 1/3 to 1/2 a shoe.
- Wait a minimum of five minutes. Use the Trimly horsehair brush to buff the leather and remove any excess shoe cream. Repeat the process around 2-3 times.
The polish should now have a medium to deep shine and your shoes will look great.
Step 3: Apply Shoe Polish
Once you've applied the Shoe Cream, your new shoes are almost ready to wear. The Bootblack Silver Line Shoe Polish contains a high content of carnauba and beeswax that will really protect the leather. It will also produce a beautiful, opaque glaze.
- Use a soft cloth and apply in small circular motions evenly over the shoe. A small dollop on the end of the finger is enough to cover between 1/3 to 1/2 a shoe.
- Give your shoe a brush with a horse hair brush. Repeat until the desired shine is achieved.
Your shoes will now practically be glowing.
STEP 4: Apply a waterproof spray
Apply a waterproof spray as your final step. It is important to find a spray that does not contain silica, which will totally seal the shoe and not allow the leather to breath. The Bootblack Silver Line Water Proof Spray will protect against oil and moisture stains, but still allow for breathability.
- To use, hold the spray approximately 20cm away from the shoe and apply thinly and evenly.
On rainy days, apply the spray at minimum about 30-45 minutes before you go out.
[Optional] High Shine
A high shine is the finishing touch, the coup de resistance, to a pair of finely crafted shoes. Avoid areas creases, as they will break the glaze and leave a white residue. The toe cap and heel counter are the best areas to work on.
- Apply a small amount of shoe polish after dabbing a small drop of water onto the toe or heel area. Polish gently by making small, circular motions.
- Re-apply a drop of water on the area when you feel the surface is no longer smooth.
- More is less. Too much polish will produce oil-like swirls that are hard to polish off. Just enough and the swirls will transform into a nice glaze.
Repeat this process until you have the desired gloss finish.